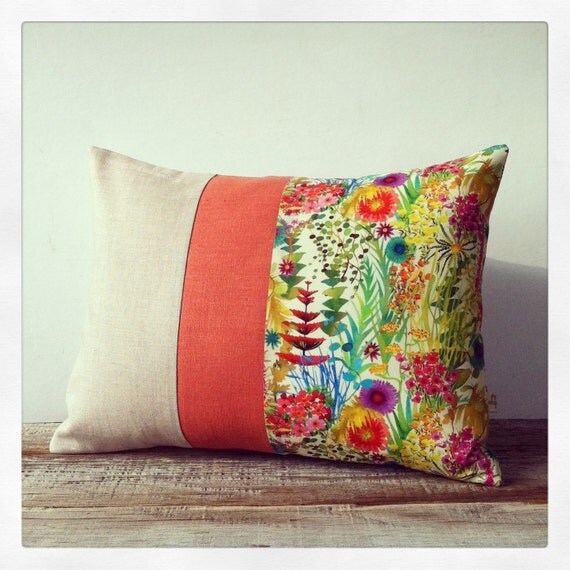
I love having a bag on hand in the car or stuffed in a kitchen drawer to hold random things when I'm flying out of the house or running into the store for some quick shopping. This bag is a great size, holds a ton of stuff, and can be fancied up as needed.
What you'll need:
- 1 1/2 Yards of a 44" wide cotton or cotton/polyester blend fabric
- Contrasting or matching thread
- Sewing machine
- Yardstick
- Fabric Scissors
- Sewing pins
Fold your fabric in half long-ways. Measure and cut at 24" so you end up with a 44" x 48" rectangle.
Then measure and cut two 6" x 44" rectangles:
Take the large rectangle, right-side out, keeping it folded in half short-ways, and sew the two short sides, using a 1/4" seam allowance.
(That tape tells me where the 1/2" is. And yes, it's in need of replacement.)
Turn the bag inside out and press the seam.
Now, using a 1/2" seam allowance, sew the short sides and the bottom (yes, I know the bottom is closed, just trust me at this point!) Make sure not to sew the open top!
On the side and bottom, sew until you get 1/2" away from the bottom and put the needle down.
Pick the presser foot up
And swivel the bag so you're now ready to sew down the next side. Put the presser foot back down and sew!
Tada! You've made what's called a french seam. Now all of your raw ends are enclosed.
^ That's what it should look like on the inside^
Below is what it should look like from the outside:
Now go back to your iron and press the enclosed seams to one side (even the bottom seam!)
Now you're going to sew on the loose side of the seams. The bag should still be inside out, but don't sew the bag together again. You're only sewing the seam and one side.
Sew as close to the corner as you can get, but don't stress if you can't get too close. (Do remember to backstitch, however) Sewing is only rocket science if you want it to be, and you don't need it to be for this bag. It's going to be ok!
No, it's not the most beautiful thing in the world at this point. Repeat for the bottom and other side then clip the threads. And trust me, it's going to turn out great!
Here's the trickiest part of this whole bag, and the part that gives it the flat bottom.
You need to make a triangle on the bottom of the bag at each corner. To do this, spread out the sides until the side seam and the bottom seam are on top of each other. Like so:
Measure 6" across the triangle and mark it.
Sew down the marked line. Repeat on the other side.
When you turn the bag right side out, you should have a flat bottom! (Well, the bag should, anyways.)
I don't like the loose flaps in the bottom of the bag, so I tack the tips of the triangles down.
On to the top of the bag!
Fold the top down 1" to the inside around the entire bag and iron it.
Then fold the top down the top 2" (so the first fold is encased) and iron it.
Sew down both sides of the hem you've created, as close to the edge as you can, all the way around the bag.
It should look like this:
It's time to make the straps.
Take one of the rectangles, fold and iron it in half long sides together, with the right side of the fabric facing out.
Then open it back up and fold down each half to the center line you just created.
Iron those sides flat.
Then fold the rectangle in half again and iron it.
Repeat with the other rectangle. You've got two almost-straps now!
Before you go to sew the straps, take the ends and fold them 1" to the inside:
Then re-fold the strap together:
Sew around the entire strap, 1/8-1/4" away from the edge.
Clip all threads and iron the strap.
Now it's time to pin the strap to the bag.
Measure 4 1/2" from the bag's side seam and 5" down the strap and pin each strap end in place.
Sew a rectangle around the strap end attached to the bag, and then sew an "X" through the middle. I know that's confusing, but it should look like this:
Clip the threads and you are done!
This pattern is easily modified and I ended up adding a pocket to the outside. You could line the bag, add pockets, closures (zipper, snap, button, etc) or anything else you can think of. Have fun and make it personal.
You are free to sell any bags you make with this pattern.
Just credit me, please-and-thank-you!
♥ Sarah


