Top Navigation Bar

Quote About Dandelions

"You fight dandelions all weekend, and late Monday afternoon there they are, pert as all get out, in full and gorgeous bloom, pretty as can be, thriving as only dandelions can in the face of adversity."

-- Hal Borland

Showing posts with label DIY. Show all posts

Tuesday, January 13, 2015

DIY Bridesmaids Request


My wedding planning is going extremely well and I've been blessed beyond measure with all of the support and advice I've received. Much of the wedding is DIY (shocker there, right?) and while I can't share all of it yet, I thought I'd go on and show you how I asked my bridesmaids. It's not the most fancy way in the world, but it is from the heart. And at the end of the day, that's all that matters. 


These are the materials:
  • Small squares of scrapbook paper
  • Paint pen
  • Sharpies (1 fine tip & 2 regular)
  • Yarn
  • Rings of your choice


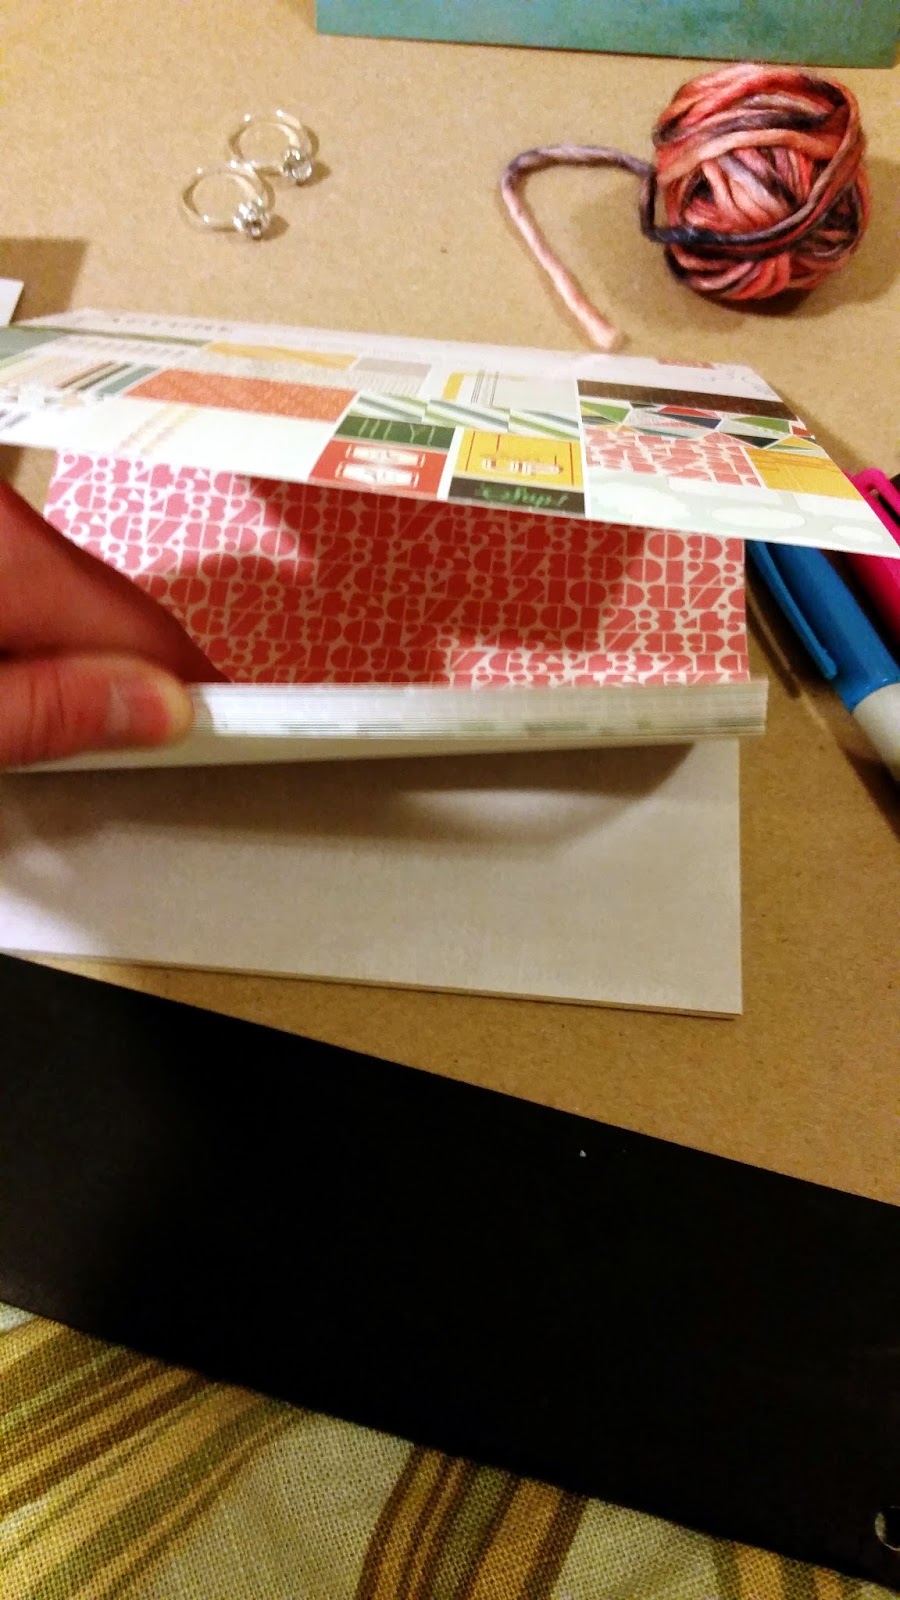
Choose your paper!


Fold it in half and crease tightly.


Write your girls names on!


Pick a cute phrase and write it on the card, accenting the fun words with the larger markers. (Yup, stole the wording from Pinterest.)


Use a hole punch to make a hole in one corner.


Cut your yarn around 8" long.


Double the yarn, pull it through the hole, thread it through the ring and back through the hole. Tie on the back side. 


Tada! 

(yes, there are 2 holes in that request.....mistakes happen.)

♥ Sarah

Monday, September 15, 2014

Guest Post: DIY Decorate a Small Space

Today marks a Very Special Day for me and my little blog! Today's the day I have my very first Guest Blogger! 

Hannah is a friend from way, way (way) back in middle school. She's a lovely woman who has played a large role in my life (she's also The Gentleman's sister!) and I've been charmed by how she's embraced adulthood and married life. She's currently not a blogger - though she used to be, and I'm hoping she will be again someday.

I asked her to write about how she's decorated her apartment. I didn't realize it, but I'd asked her to write the article as she was in the middle of a move - sorry about that, dear!

And now, I'll let her charm you herself.

~~~~~~~~~~~~~~~~~~~~~~~~~~~~~~~~~~~~~~~~~~~~~~~~~~~~~~~~~~~~~~~~~~~~~~~~~~~~~~~~~~

Moving from apartment to apartment can be stressful. Especially since it seems like there is always something you overlooked in the new apartment that you won’t find out about until you’re half-way through the moving process. For my husband and I, that one thing always seems to be a lack of storage space. The past two times we moved we’ve had to find creative ways of storing things that, when I was younger, I wouldn't have ever thought about! Where to put the magazines, the extra blankets, the crafting supplies, the board games…the list seemed endless. So it seemed we had two options, buy pieces of furniture exclusively for storage, or rearrange our house so we could have one piece of furniture that served multiple purposes. Seeing as we try to not focus on having an over-abundance of material possessions (not to mention we would have no place to put those pieces), that left us with the latter choice.


We started with our lack of a proper coffee table (apparently the carpet “isn't a good enough coffee table”). I looked around on Pinterest for a bit and decided that a rustic, pallet look would go best with the look of our house, and give us a place to put those pesky magazines! So we acquired the pallets from my parents farm (although it’s fairly easy to find free pallets on Craigslist or at a furniture store) and simply stacked three of them on top of each other. Thankfully, pallets are heavy enough that there’s no need to bolt them together to keep them from sliding around. From there we put anything we didn’t want to look at all the time into the slots and put a Webster’s Dictionary and a few candles on top for decoration.


Next we needed a place to put extra quilts and crafting supplies. My parents-in-law had given us a dresser that, even though was a beautiful antique, was far too massive to fit in our bedroom. So we simply took the mirror off, decorated the top with an antique typewriter, my DIY origami wedding bouquet, a dried flower arrangement, and an original painting found at Goodwill. And then voila! We found a new use for a dresser and turned it into a buffet where we now store blankets, biking accessories and craft supplies.  


And I know there are girls out there who have the same problem I do of not having a great place to put their jewelry and it seems to only get tangled and in the way. Well there is hope! An easy way to fix that problem (if you’re like me and aren’t really interested in having a more traditional jewelry box) is to find an old picture frame, take out its contents and hot glue/staple ribbon across. your necklaces can hang down from the top of the frame and the ribbon is the perfect place to put earrings! So there you are, a 30 minute job and it clears up the clutter of jewelry from whatever drawer it was being stuffed. Definitely a great weekend project!


So if you don’t have the money/space to spend on buying something to store your bike tire pumps or sewing material in, never fear. Just look around in thrift shops, garage sales and antique shops to find inexpensive ways to clear up your house. I find it the most peaceful when I can come home from work, light some incense, make some tea...and NOT be forced to stare at random piles of books and DVDs. Don’t let the stress of having a messy house rule your life, take charge and find ways to clear things up, once and for all!  

♥ Hannah


Thursday, July 10, 2014

Sheet Dresses

***Apologies in advance for the yucky photo quality; my phone didn't want to cooperate and my camera is off with my aunt taking photos of whales.***

I will be working at a local farmers market this weekend, and - in case you've never been to a farmers market - this means that I will be outside, in the heat. I love the South, I love the Summer, but I don't love being sweaty. Eww. 

I also am planning on sewing up a dress out of some linen fabric I bought a year ago. But I wanted to make a test dress first, so I used a thrift-store sheet, a dress I already owned, and a few hours out of the morning.

I laid my dress out on some newspaper and traced the rough shape around it.


Then I cut the pattern out.


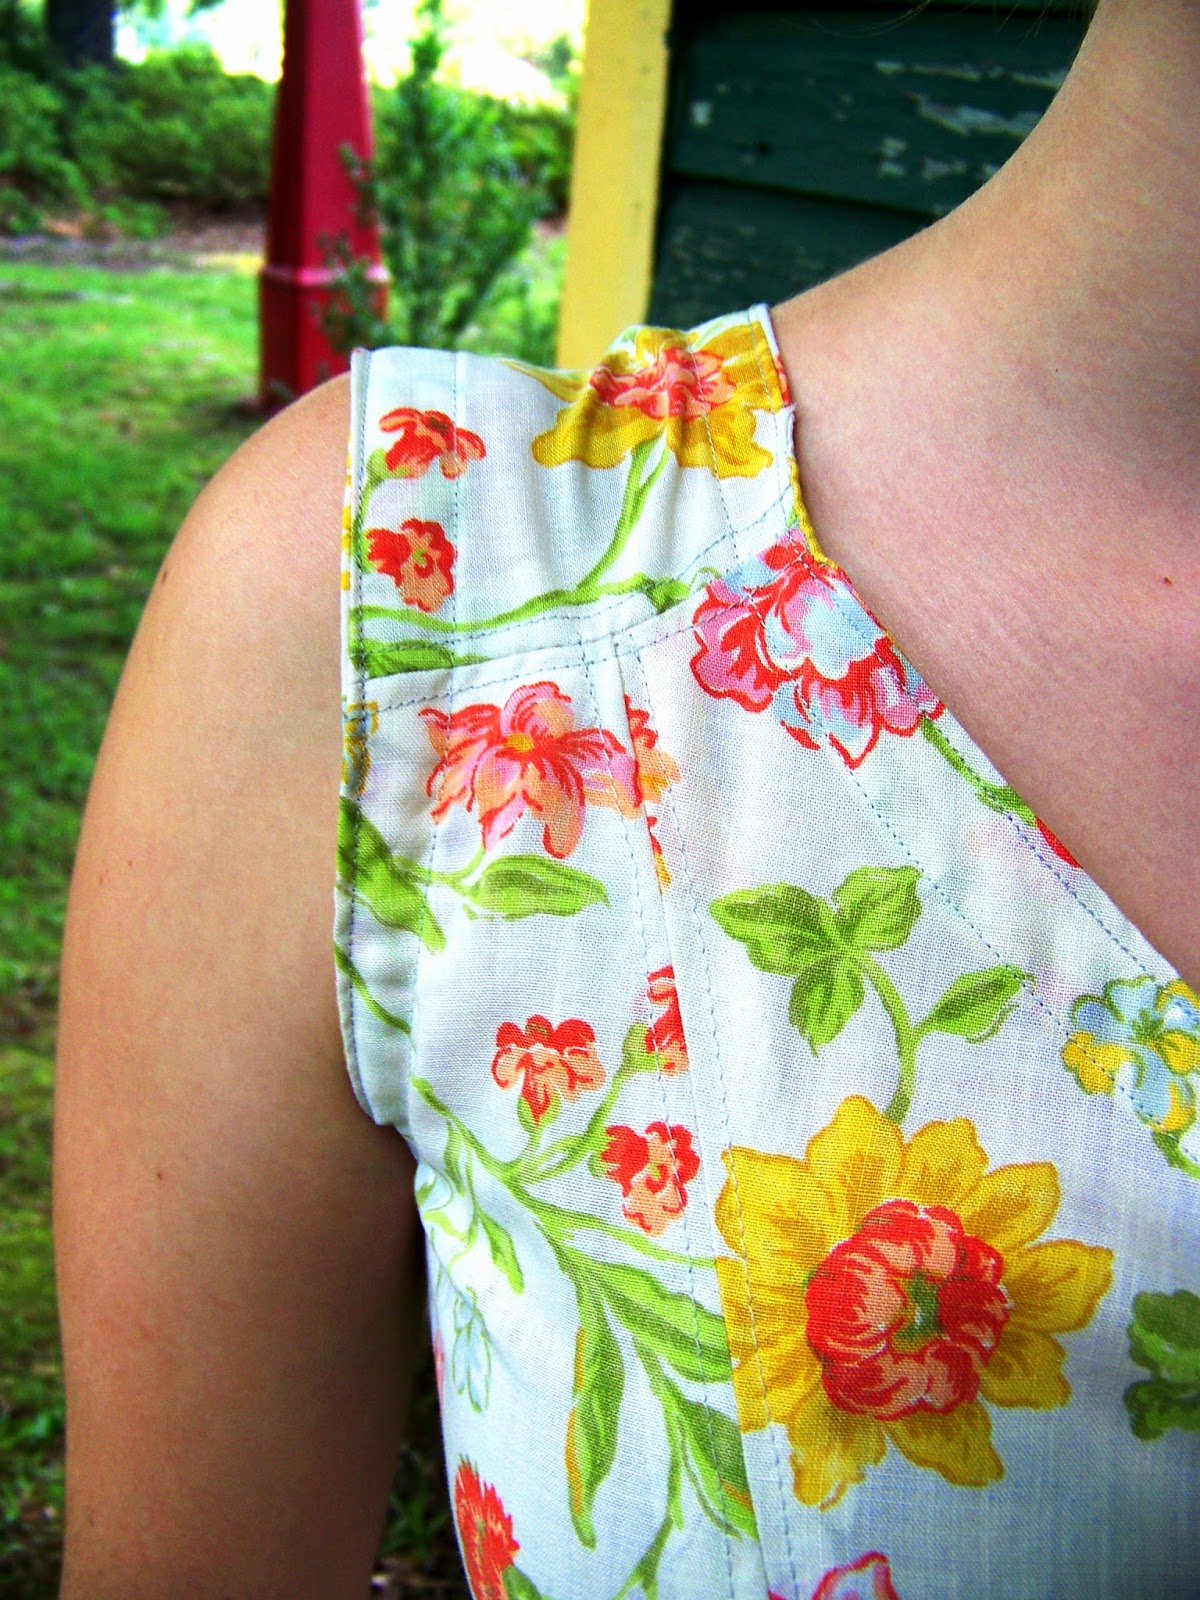
I used the french-seam method and sewed the front and back together. Next I pleated the front and back so the neckline wouldn't be huge. Then I made binding from the leftover fabric and bound all of my raw edges.


It kinda looks like a maternity dress at this point. But that's alright, because the next thing I did was to whip out a matching belt!


At a later date I'll add waistband elastic, but for this weekend, the belt will be A-OK. 


Before I make the linen version, I'll be modifying the pattern by adding bust darts to the front, narrowing the sleeves, and taking out some of the excess fabric.

I took the time to document another dress I made a few weeks ago. I was testing out a pattern I bought - it was a failure. You can't tell from the photos, but this dress does.not.fit. It has inspired me, however, to just buckle down and create a basic pattern from my own measurements so that I don't have to keep dealing with ill-fitting patterns. It will make for less-stressful sewing.


I'll leave you with the happier images of "fluffy doggy", as he's been nicknamed:


♥ Sarah

Monday, June 30, 2014

Urban Farming and a Giveaway Winner!

I ♥ things I can do by myself. I'm not a headstrong, independent first-born for nothing! And furthermore, I like unconventional things I can do myself. So when I met some new friends that lived in the middle of the suburbs and kept rabbits and bees (y'all, they had a beehive on their roof!), I was super excited. I got inspired by reading up on honey bees disappearing due to CCD (Colony Collapse Disorder) and I spent a huge amount of time researching different types of beehives and methods of beekeeping. And I approached my poor parents with the seemingly innocent request to have "just one little beehive that I could keep next to the house." My parents, being the absolutely incredible homeschooling-DIYers that they are said ok. 

And so I built a Kenyan top-bar beehive.


And I ordered a pound of bees (approximately 12,000 bees) to be shipped through the mail. I made cool friends at the post office that day!

This is how they're shipped:


And I did all the things my new bee-friends advised me to do. And pretty soon I had a fully functioning beehive with 50,000+ honey bees sitting not one foot from my house!


They gathered a lot of different types of pollen. It was fascinating to watch them go in and out of the hive.


Now, things happened a year later that were beyond my control and my hive ended up creating lots of new hives and then my hive "died". It was sad, but I'm so glad that I had the opportunity to learn what I did. And it has seriously inspired me to look into what is being labeled the "Urban Farming" movement. 

It's so cool, y'all. 
Positive Detroit

People take their backyards and rooftops and apartment patios and instead of letting them sit empty and "wasting space", they flourish with colorful plants and incredible animals.

Brooklyn Grange

National Geographic Urban Farming
Backyard Farmer: Honey I Shrunk the Farm
I'm totally and completely ok with this movement. I fully intend on owning a small farm someday, and I'm an Agriculture Education major, so I may be a little biased though. My sister is still trying to convince my dad that chickens make great conversation pieces as they run around backyards. (He hasn't bought it, or the chickens, yet.) 

If you're a current urban farmer, what are some tips you could offer would-be farmers? 
If you're interested, what would be something you'd have to know before you started your own backyard farm? 
If you hate the idea, why?

GIVEAWAY WINNER:
I used the Random Number Generator to pick a comment number fair-and-square, and Tamara's comment was chosen! Tamara will be contacted and her lovely recycled clutch will be shipped to her ASAP. 

Friday, June 20, 2014

A Vintage Sheet Dress

I fell in love with a vintage sheet I have been sewing aprons out of, so I made myself a pattern and then a dress and.......it didn't fit. I was very, *very* frustrated, but I've decided to just sell it and move on. It's all about learning what not to do next time! I had a couple friends model it for me and oh, aren't they stunning!


Friday, June 13, 2014

{A Tutorial} Star Spangled Shorts


Last weekend, The Gentleman treated me to a mini shopping spree at Rue 21. I browsed through the store and found a few items I liked and then these shorts caught my eye:


But then the price tag of $24.95 caught my eye too, and I turned them down. I've seen enough DIY shorts that there was no way I was going to pay $25 for a pair! So a few days later I went home, gathered the materials I'd need, and got to work.